


Gravel ride setup checklist
Gravel rides are unpredictable: smooth pavement can turn into washboard, shade can become exposed fire road, and the best POV moments often happen before you have time to reach for a camera. A camera-glasses setup should keep recording simple while your attention stays on the surface ahead.
This gravel ride camera glasses checklist helps you prepare before the route starts, covering fit, lenses, battery, controls, audio, and post-ride clips. It pairs with the Beyond the City gravel ride story by turning that riding scenario into practical steps you can use before leaving the driveway.
If you are still comparing formats, start with the broader camera glasses for cycling buying guide. This article assumes you already want eye-level POV and focuses on the details that matter most on gravel: fit, lens choice, battery, controls, audio, and post-ride workflow.

Quick Setup Checklist
| Before the ride | What to check | Why it matters on gravel |
|---|---|---|
| Fit | Helmet clearance, nose pad comfort, temple pressure, no bounce on rough ground | A small fit issue becomes distracting once the surface turns loose or corrugated. |
| Lens | Light condition, UV coverage, tint, prescription insert, spare lens plan | Gravel routes often move between tree cover, open roads, dust, and late-day glare. |
| Recording | Resolution, frame rate, storage, loop recording, battery target | Long rides need a plan for highlights, not just one long file. |
| Controls | Button feel, remote pairing, start/stop shortcut, manual mark habit | The best clip may happen when both hands need to stay on the bar. |
| Audio | Open-ear volume, wind noise, group communication, alerts | Awareness matters when the route mixes trail, farm roads, traffic, and group riding. |
1. Start with fit before camera settings
On gravel, comfort is not a luxury feature. A frame that feels fine during a five-minute try-on can shift once you add a helmet, sweat, dust, and vibration. Before you think about resolution, ride a short rough section and check whether the glasses stay stable without pressure points.
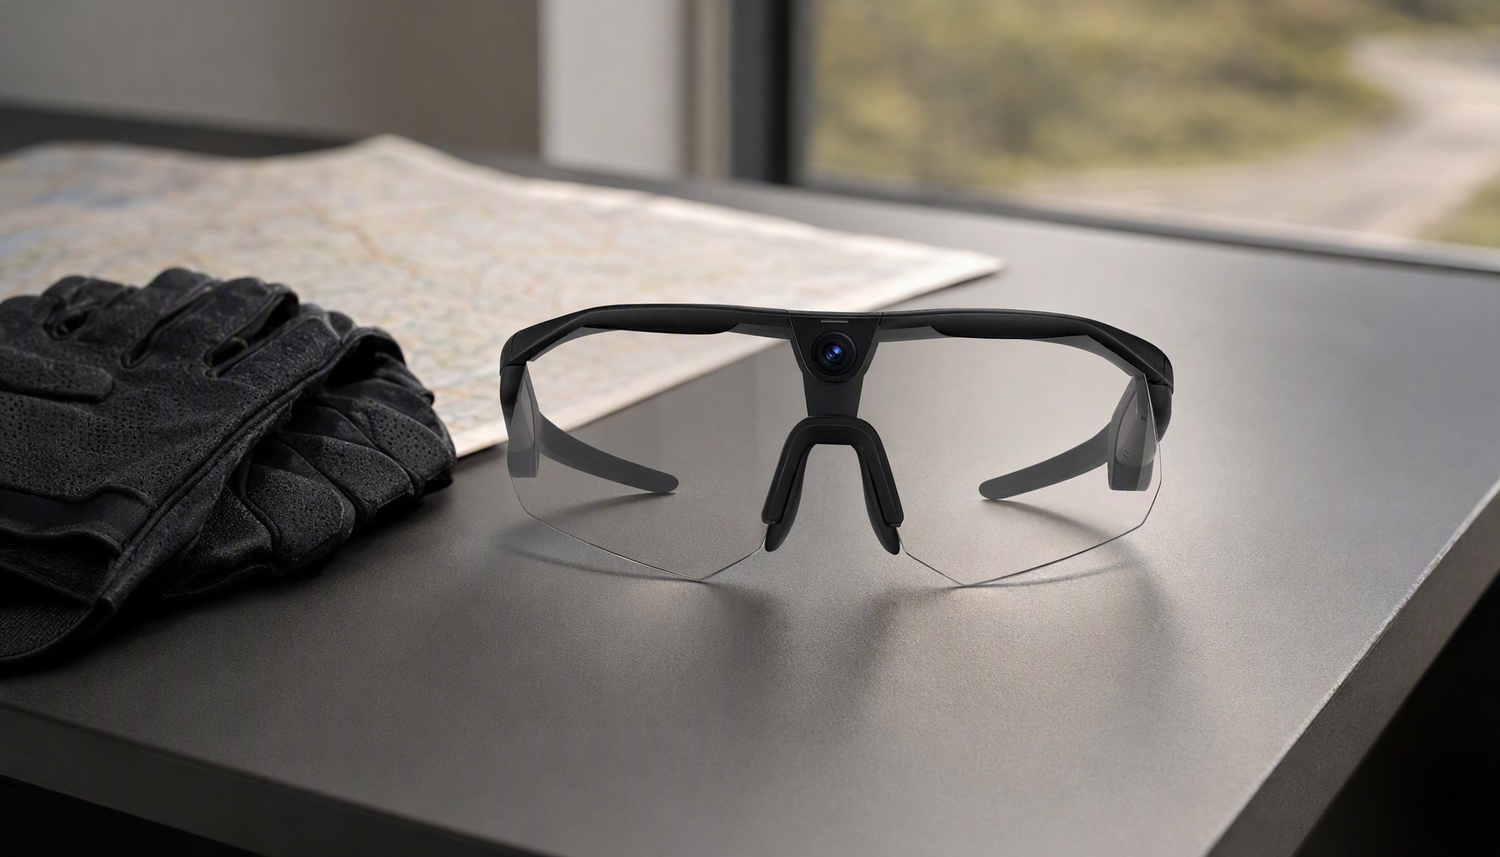
BleeqUp Ranger is built around a 49g TR90 sports frame, open-ear audio, and an eye-level camera position, which makes it a useful reference point for this type of ride. The BleeqUp Ranger review covers the full 4-in-1 system if you want the product-specific detail.
2. Match lenses to the route, not the forecast
Gravel routes can change light quickly. A route may start under trees, cross open farm roads, hit dusty sections, and finish close to sunset. Choose lenses for the hardest visibility moment, not only the brightest part of the ride.
Riders who care about optics, clarity, and premium lens behavior should read the Ranger ZEISS lenses guide. Prescription riders should also check whether they need the included RX insert fitted before the ride, because guessing on vision comfort is a bad tradeoff once the surface gets technical.
3. Plan recording around moments, not hours
A gravel ride can last several hours, but not every minute deserves to become video. Decide before the route whether you want continuous context, short manual marks, scenic clips, group-ride highlights, or safety footage. That choice determines battery, storage, and app workflow.
For longer gravel routes, pair the glasses with a realistic power plan. Ranger is rated for about one hour of continuous video from the glasses, while Power Plus is designed to extend recording up to five hours depending on use and conditions.
That does not mean every gravel rider should record everything. It means you can choose between short clips, longer sections, or a mix without ending the ride with a dead setup.

4. Set controls before the rough section starts
The moment you want to record is often the same moment you should not be touching a phone. Test start, stop, and manual mark controls before the ride. If you use a bar-mounted remote, pair it while you are still stationary and make sure it is reachable from your normal hand position.
The Bluetooth Controller helps when you want capture control without reaching for the frame or phone. On gravel, this matters most during descents, washboard sections, group moves, and scenic turns that appear quickly.

5. Keep audio useful and awareness open
Open-ear audio is valuable on mixed-surface rides because you may need route prompts, group communication, calls, or alerts while still hearing tires, traffic, riders, and the surface. Keep volume conservative and test wind behavior before relying on audio for navigation or communication.
This is also where camera glasses differ from a traditional action camera. They can combine POV capture with riding audio and awareness. If you are still choosing between camera glasses, smart glasses, and mounted cameras, the cycling camera glasses guide gives the broader comparison.
6. Finish with the app workflow
The ride is only half the workflow. Before you leave, confirm the BleeqUp app connects, storage is available, settings are correct, and you know how you will find the best moments afterward. The BleeqUp app guide explains One-Tap Clip, AI Highlights, maps, intercom, and settings in more detail.
For gravel riders, AI-assisted clips are most useful when they reduce sorting time. A few manual marks during the ride can make post-ride editing faster because you already know where the climb, descent, view, or group moment happened.
7. Record with context and respect
Gravel routes can pass through towns, shared paths, trailheads, farms, and private-adjacent roads. Capture the ride, but avoid turning every person, plate, or private property detail into the subject of the clip. When in doubt, keep the footage for personal review or edit it before sharing.
The goal is not to make every gravel ride feel like a content shoot. The goal is to use camera glasses in a way that supports the ride: hands-free capture, useful POV, open awareness, and a post-ride path that makes the best moments easy to keep.
FAQ
Are camera glasses good for gravel riding?
They can be, especially when the frame is stable, the POV is close to the rider's line of sight, controls are simple, and battery planning matches the route.
Should I record a full gravel ride or only highlights?
Most riders are better served by a mix: record important sections, use manual marks for key moments, and keep enough battery for the parts of the ride that matter most.
What camera-glasses settings matter most on gravel?
Stable fit, useful field of view, frame rate, storage, battery, lens choice, and fast controls usually matter more than chasing the highest possible specification.
Do I need a remote controller?
Not always, but a bar-mounted controller is useful when the surface is rough or when you want to mark a moment without moving your hands away from the riding position.
How should I prepare before the first gravel ride?
Charge the glasses, check storage, pair accessories, test app connection, clean lenses, confirm fit with your helmet, and ride a short rough section before committing to a long route.


